


Master Your Edits: How to Customize Video Export Quality in iQOO Albums

Hey Questers 👋,
Have you ever finished editing a masterpiece in your Gallery, only to realize the file is too big to share or the quality isn't quite what you expected? Whether you are a budding content creator or just someone who loves capturing memories, having control over your final output is key.
In the latest Origin OS6 updates, it has made it incredibly easy to fine-tune your videos directly within the Albums (Gallery) app.
🛠️ How to Access Export Settings
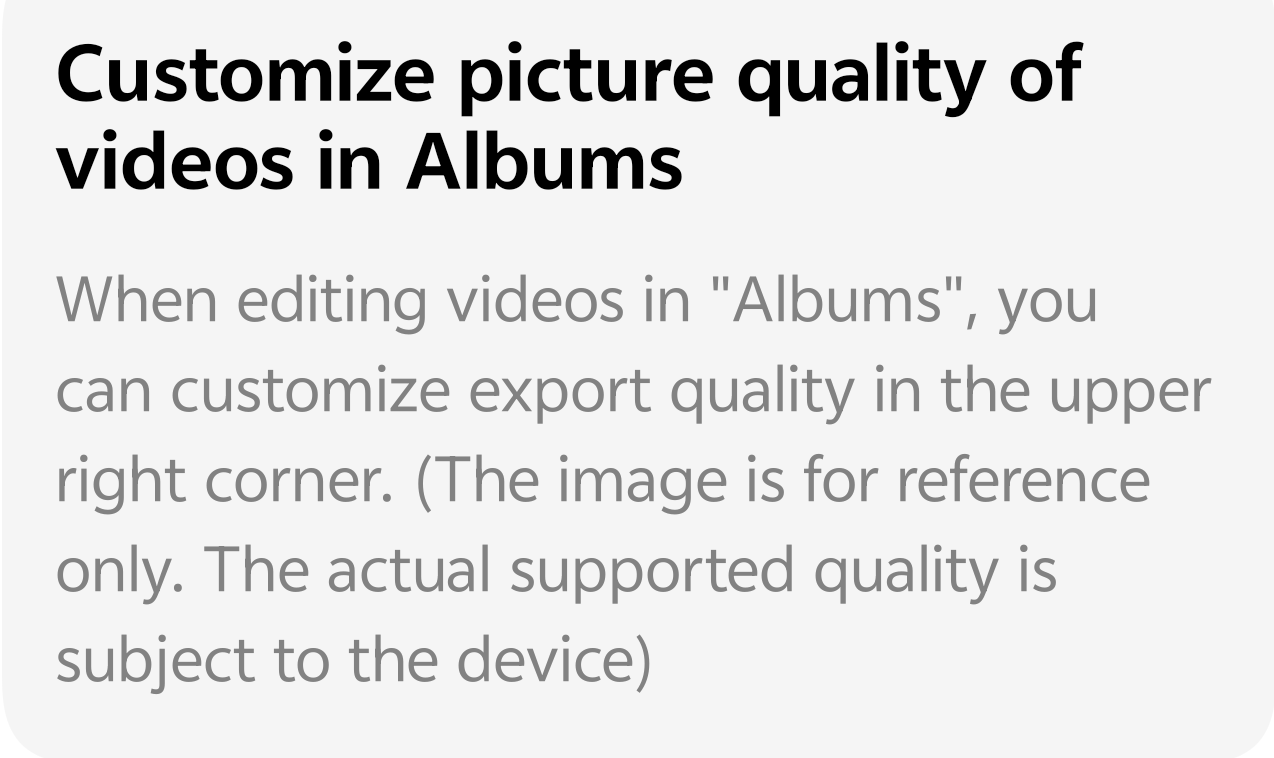
Once you've finished trimming, adding filters, or adjusting the colors of your video in the Albums app:
* Look for the Export button (usually a checkmark or an arrow) in the upper right corner.
* Before tapping "Save," you will see the Video Export Quality menu.
* This menu allows you to see the estimated file size before you even hit save—perfect for managing your storage!
🧪 Key Features You Should Know
1. Resolution & Frame Rate Sliders
You have full manual control over the "sharpness" and "smoothness" of your video:
* Resolution: Switch between 480P, 720P, 1080P, and 4K. If you’re uploading to YouTube, 4K is king. For a quick WhatsApp status, 720P often does the trick while saving data.
* Frame Rate (FPS): Choose from 24 FPS (for that cinematic film look) up to 60 FPS (for ultra-smooth motion, great for sports or action).
2. H.265 (Efficient) Coding
This is a game-changer for storage management. By toggling on H.265 (HEVC), your phone uses advanced compression to:
* Keep the high visual quality of your video.
* Reduce the file size significantly compared to the older H.264 format.
> Note: Just keep in mind that some older devices or very old PCs might struggle to play H.265 files, so use the standard "Original Quality" toggle if you're sharing with older tech!
3. Export in Original Quality
If you don't want to mess with sliders and just want the video to stay exactly as it was recorded, simply toggle Export in original quality to "On." This ensures zero loss in data from the original file.
💡 Pro-Tip
If you’re editing a video intended for Instagram Reels , we recommend exporting at 1080P/30FPS or 60FPS. Most social platforms compress 4K files anyway, and 1080P often results in a "cleaner" upload with less stuttering.
Follow me ➡️ @TechieGuyfor more such amazing content 🤘 🤩.
Please sign in
Login and share