


Five Ways to Shoot Into the Light

Shooting directly into the light always used to be considered a no-no in advice to beginner photographers. That's partly due to the fact that camera optics were less able to cope with direct sunlight in years gone by but also because shooting into the light used to require a lot of work and skill. These days, camera metering systems, and most especially the computational photography algorithms used in smartphones, mean it's a very practical approach for anyone.

Note that you may initially find the dark areas of your shot either look very dark, or lacking in detail. However, this is a very easy fix and can be done in just a few seconds in your smartphone's own camera or photos app. What you want to do is boost the Shadows value. On the iPhone, for example, tap the edit button and then the Adjust icon. Then scroll through to the Shadows button and slide right or up to lighten the dark areas.
The Sun High in the Sky
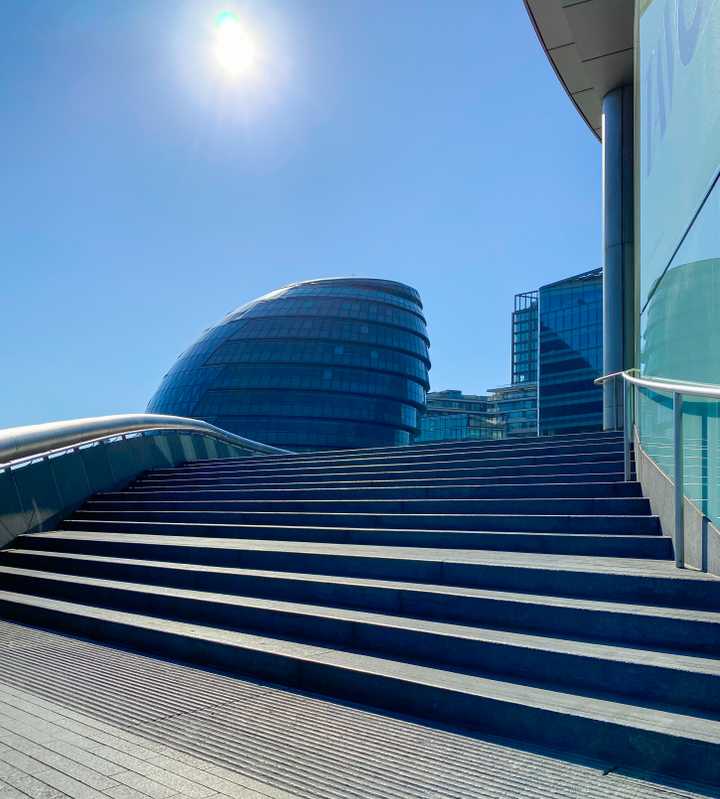
This is the most extreme example. A clear sky and the sun pointing directly into the camera lens. At one point, this shot would have been essentially impossible, but the iPhone 11 Pro simply shrugged and coped just fine. The sun is, of course, completely blown out, appearing as pure white, and the rest of the shot is low-contrast, but we still have detail in both the steps and the buildings. All compositions are personal taste, of course, but for me, there's an almost palpable sense of the heat from the sun in this shot.
Warning ⚠️
Don't ever look directly into the sun. When taking a photo with the sun in the shot, ensure that the camera/phone is always between you and the sun so that you're only ever seeing it on the screen. Don't use an optical viewfinder for these types of shots.
Positioning the Sun at the Edge of a Building
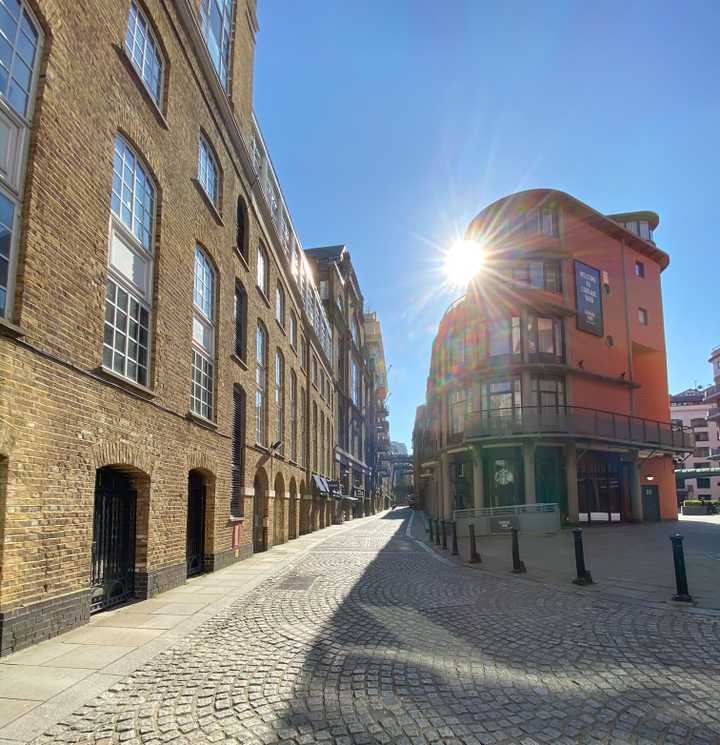
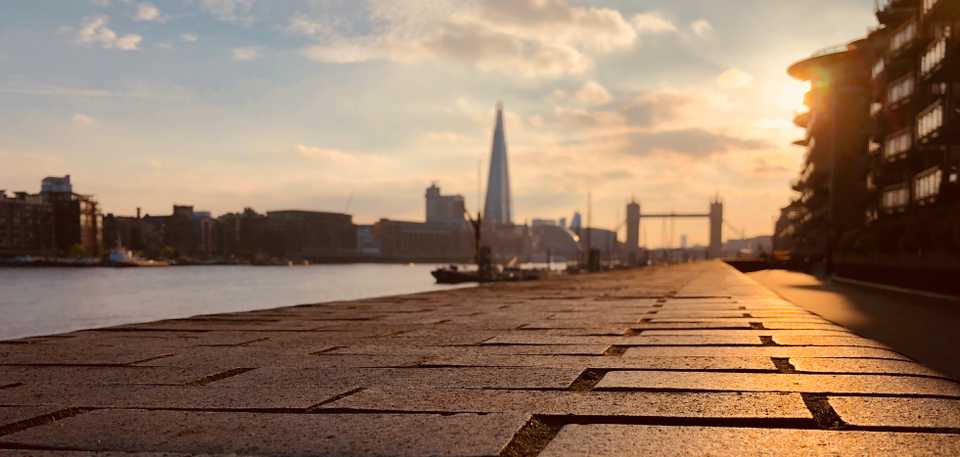
Positioning yourself so that the sun is just peeking out from behind a building can often create a really pleasing effect, lending some drama to what might otherwise be a less interesting shot. It typically creates a starburst lens flare effect, as can be seen in this shot of London's Shad Thame.
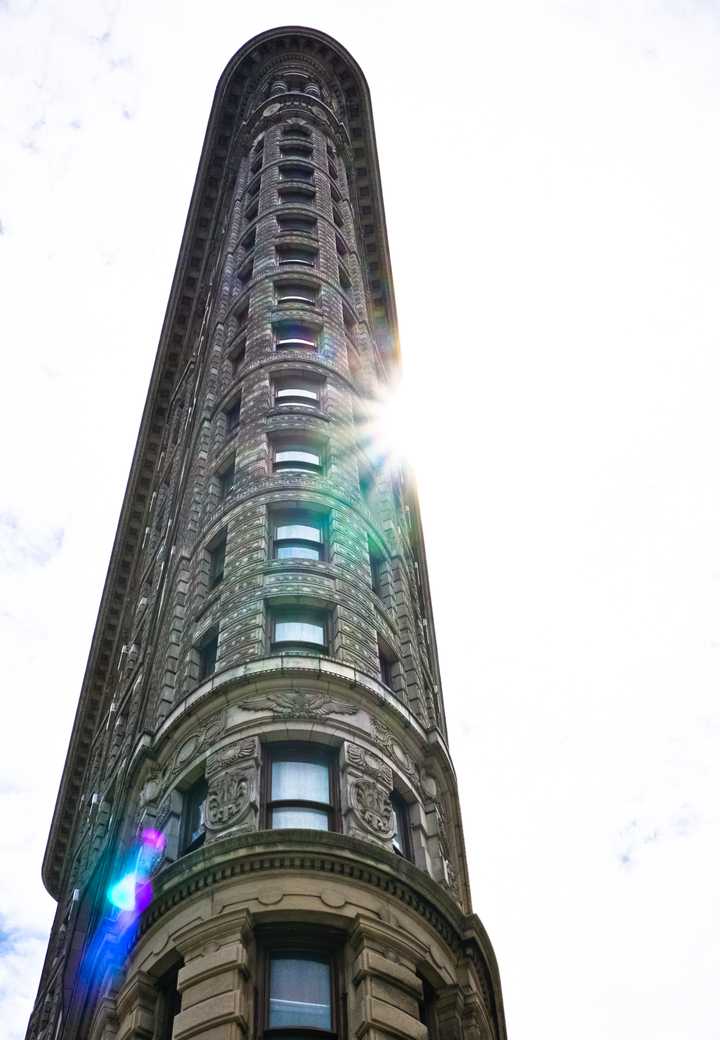
This is another example of the same effect, this time of New York's Flatiron building. In this case, the sky wasn't very interesting, so it added some flair as well as a flare to the shot. Note the way the color from the lens flare spills down the building, with a second set of internal reflections lower down. Again, these things are a matter of taste, so you'll need to decide for yourself how you feel about visible flares.
Sun Through Trees
Shooting the sun through tree branches can often create a really beautiful effect. Just experiment with moving the camera around behind the trees to find the most pleasing angle for these.
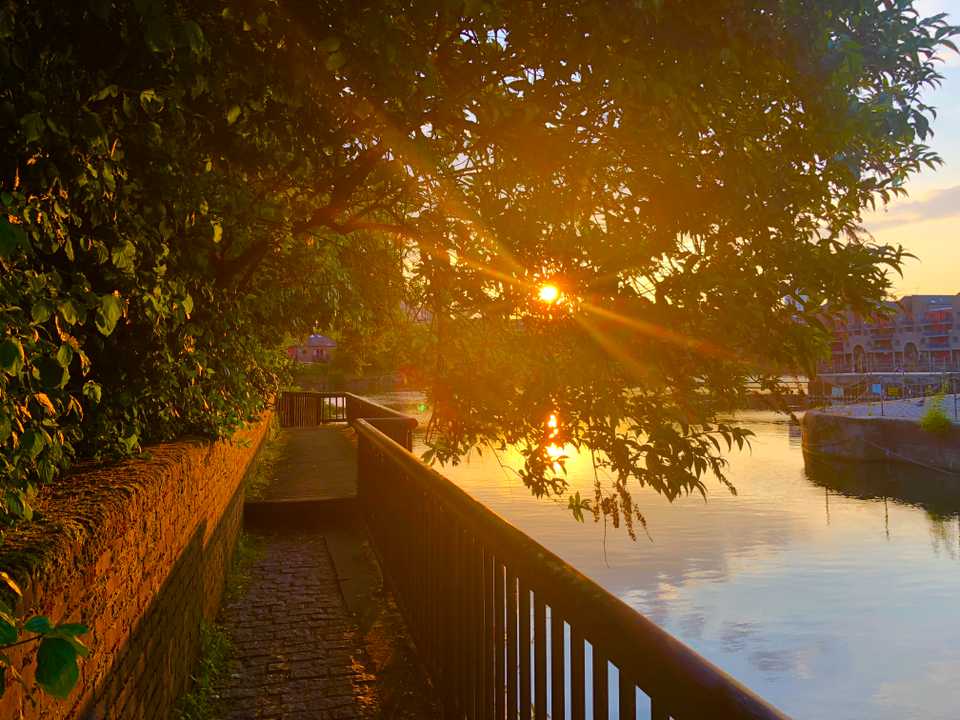
This shot was close to sunset, the tree branches creating a starburst effect, with the sun additionally reflected in the water beneath the trees.
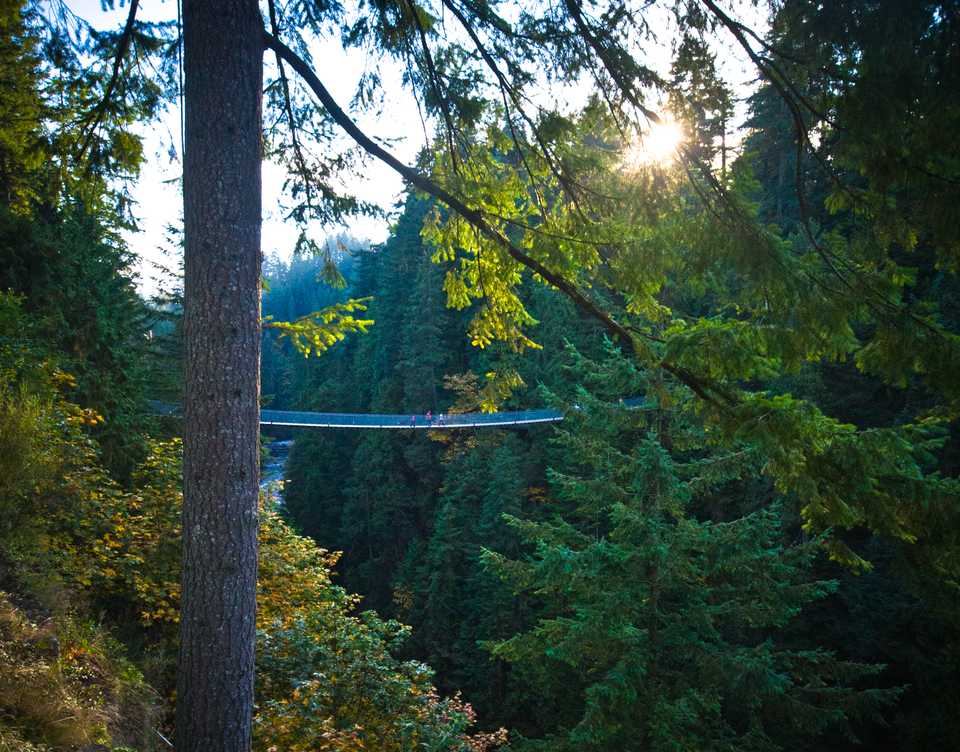
This photo was taken with the sun higher in the sky, and the bridge stands out more as it is lit from behind. Again, changing the camera position or angle by just a few inches can enable you to find the best effect.
Reflected Sunlight
This is very similar to the starburst effects we've seen, but here, I've positioned myself to hide more of the sun, as I wanted the reflected sunlight on the brickwork to be the focus of the shot. Again, a very slight change in your position makes a big difference. When the sun is this low in the sky, a lot of ordinary surfaces become reflective, so you don't need to specifically look out for things like water, metal, or glass.
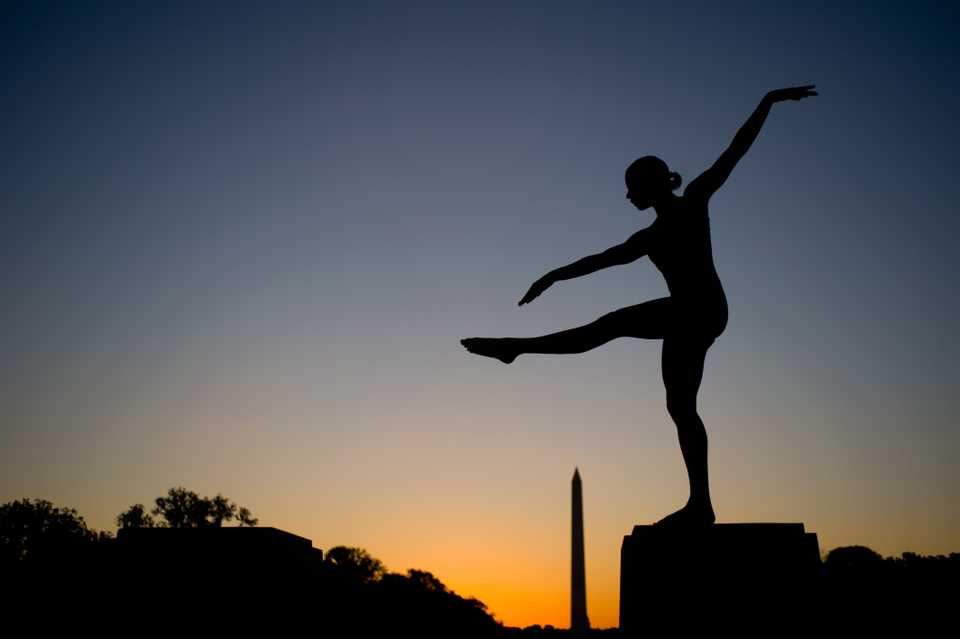
Silhouettes
Finally, for this section, a very classic way to shoot into the light is to find interesting shapes to silhouette against the sun. Because we want to capture clean edges, it's best to shoot this at sunrise or sunset. To take these shots, you will likely need to reduce the exposure. Usually, you will tap on a sunlit area of the photo, then drag it downward if needed to darken the shot further.
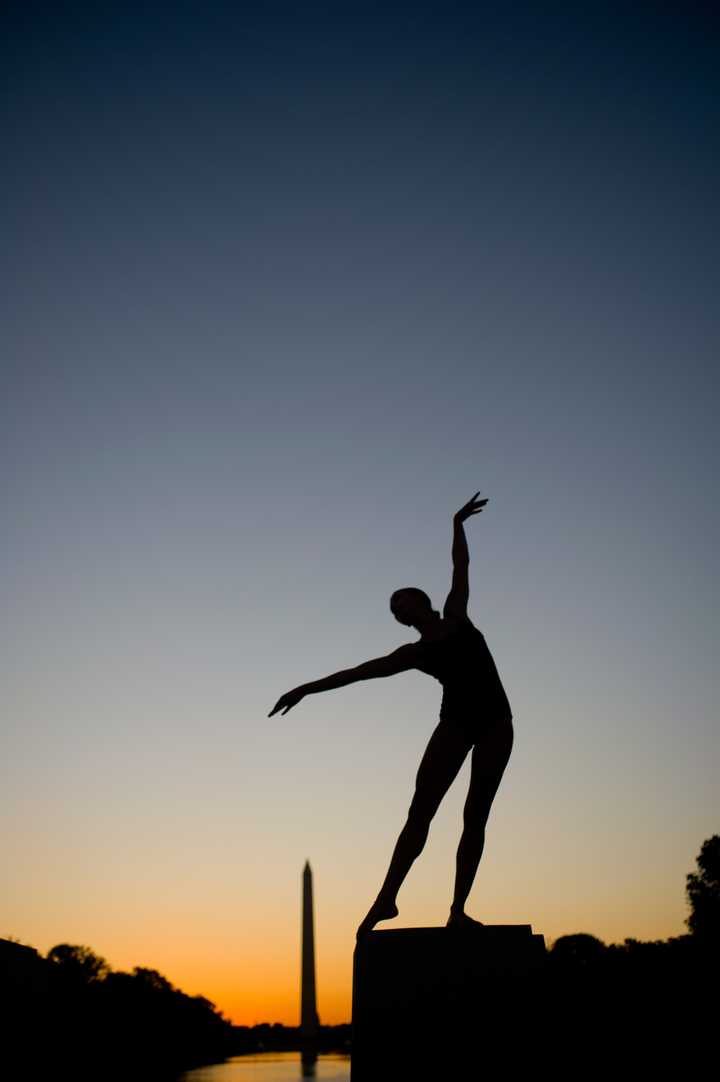
In the case of the shots above and below, these were shot in Washington DC at sunrise, and I took along a dancer to form pleasing shapes.
Please sign in
Login and share